Professional integrated housing one-stop solution provider
including prefabricated container house, modular building and steel structure etc.
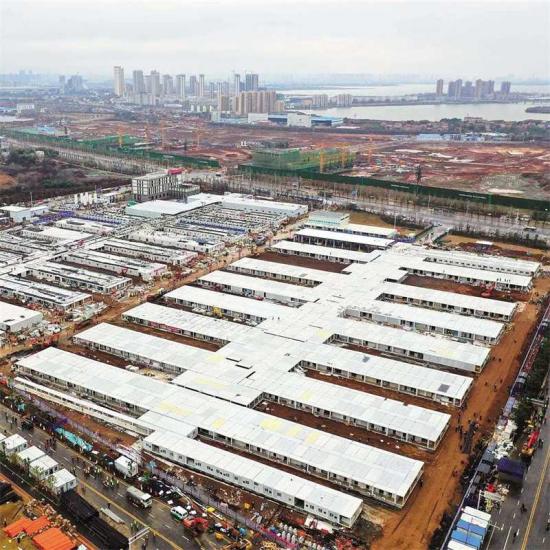
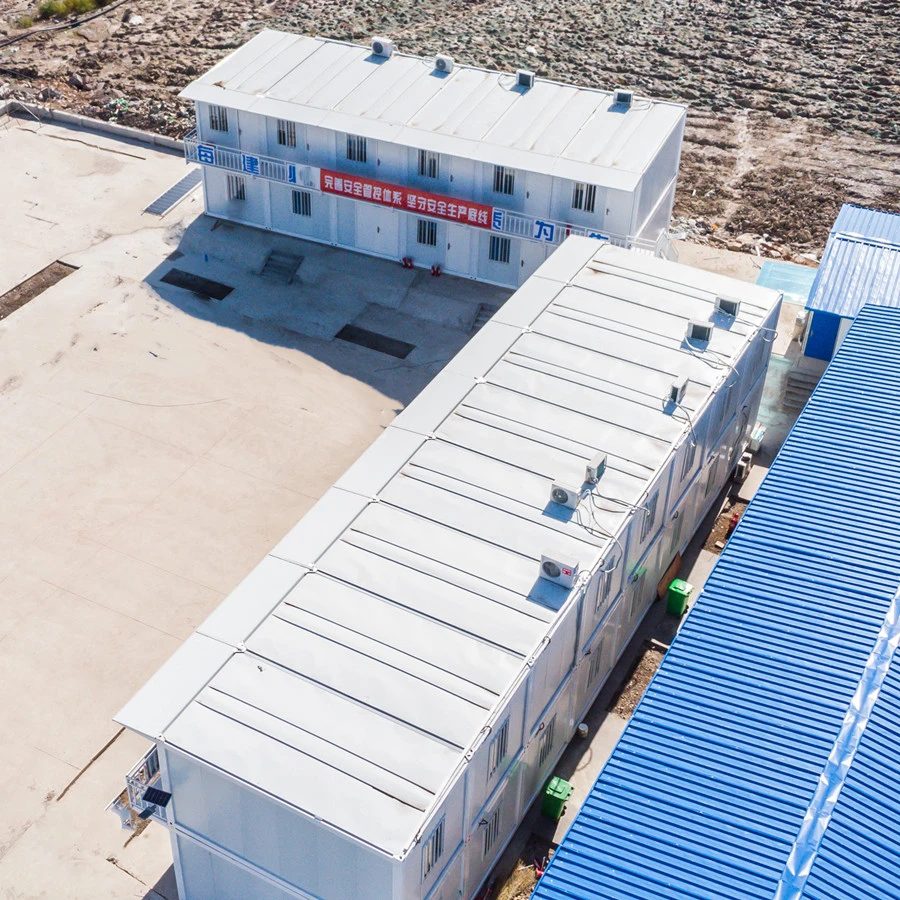
Customized Project
Mobile Toilet
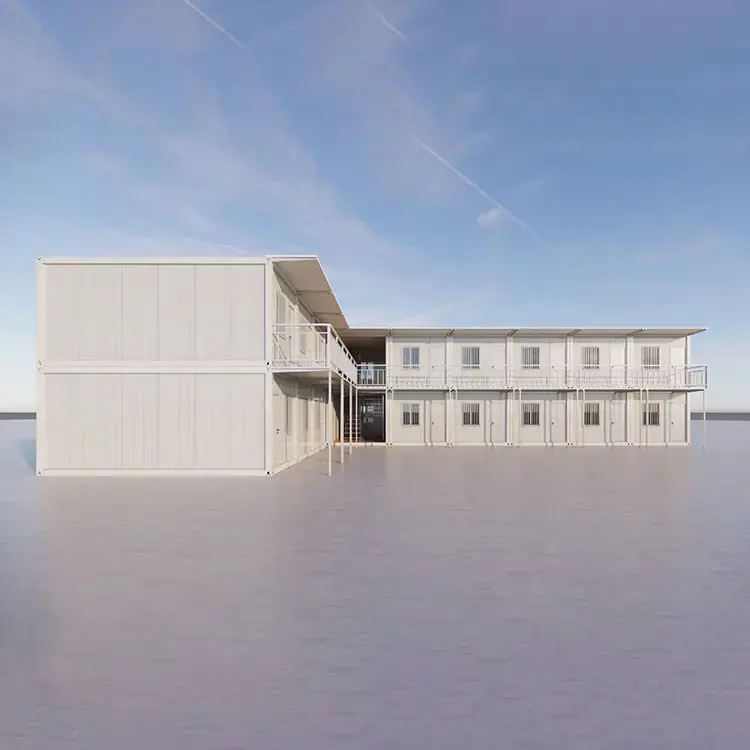
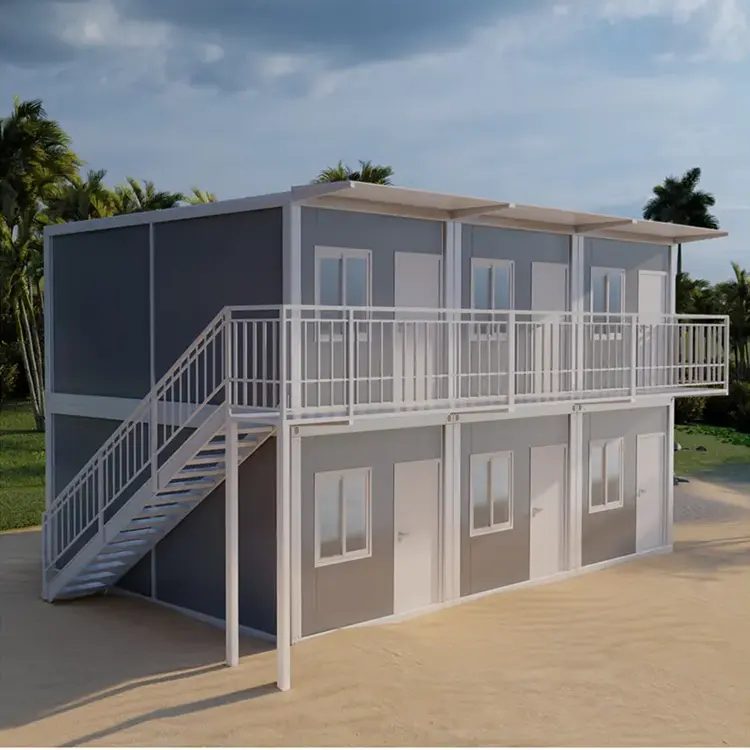
Detachable Container House
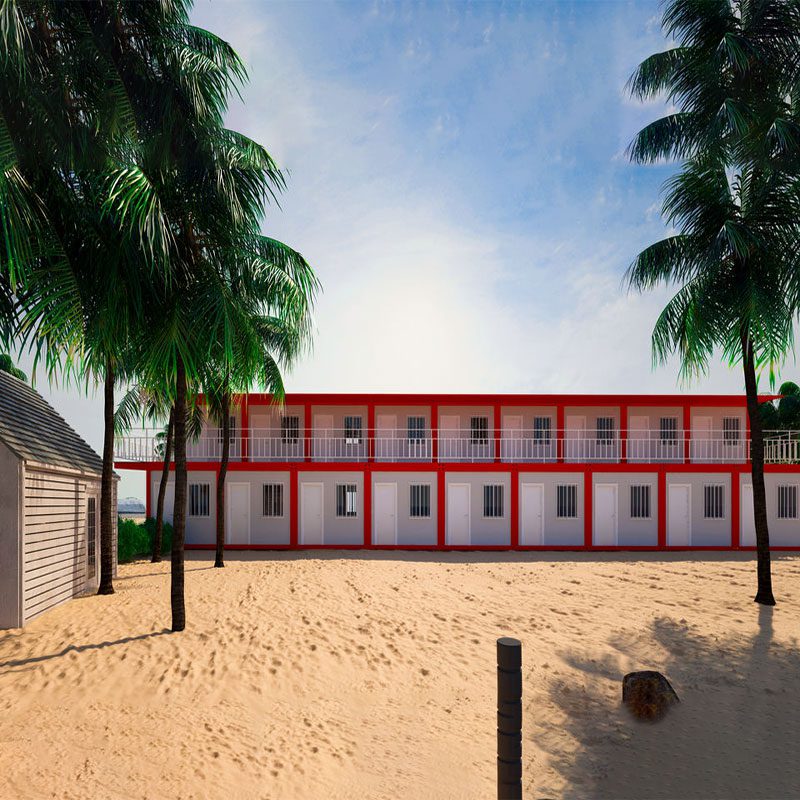
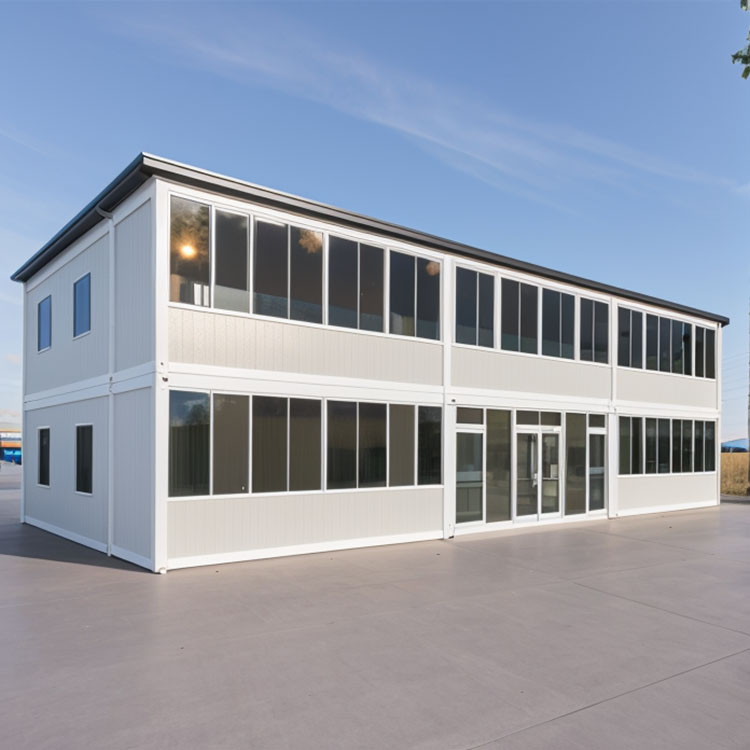
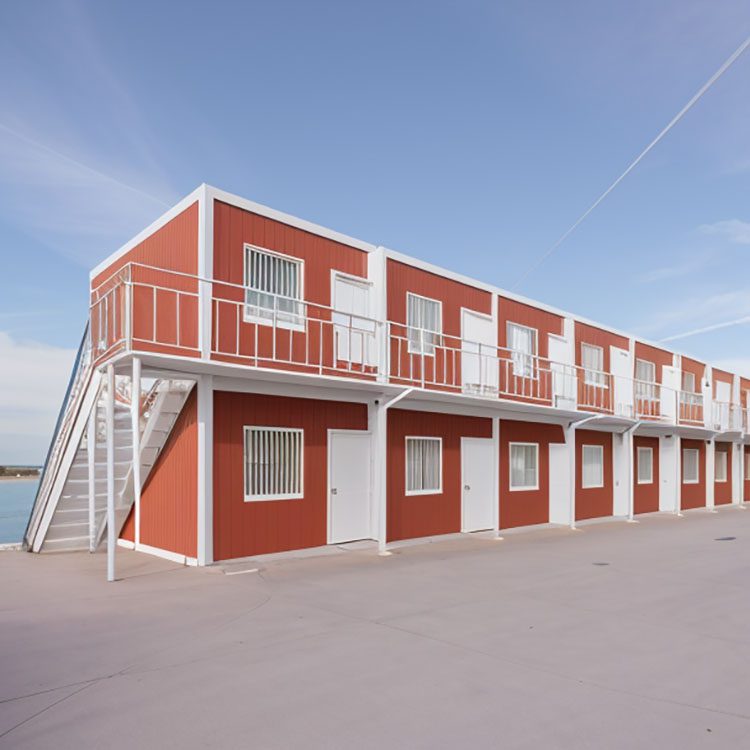
Prefab House
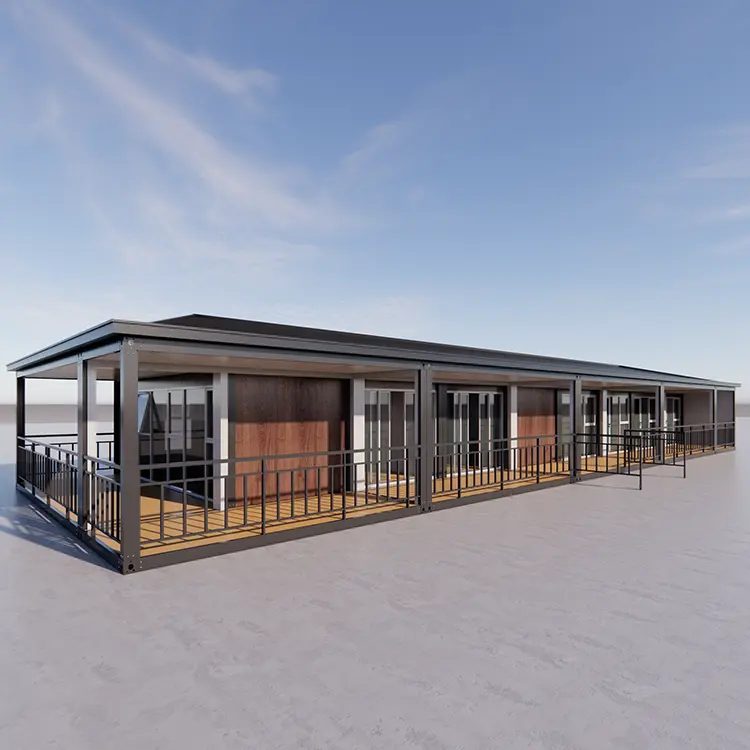
Expandable Container House
Shipping Container House
Steel Structure Building
Container House

Container House Installation Process


 IPv6 network supported
 EMAIL : info@hig-housing.com